If your website doesn’t have a contact form, you’re missing a huge opportunity.
It’s one of the easiest ways to connect with visitors, capture leads, and have two-way conversations.
A form keeps the conversation flowing and makes sure you never miss an opportunity.
Whether you need a quick contact form, an appointment booking, or a survey, you can build and customize a form in just a few clicks using SureForms.
In this guide, we’ll show you exactly why contact forms are a game-changer and how you can set one up in minutes.
Why Every Website Needs a Contact Form
A contact form is more than just a way for visitors to reach you. It’s a crucial tool for communication, organization, and building a viable business.
Here’s why every website should have one:
- Shows you care – Having a contact form shows you care what visitors have to say.
- Prevents spam – Hides your email from spam bots, reducing unwanted messages.
- Generates leads – Combine a form with copywriting and calls to action to help generate more business.
- Ensures structured communication – Collects key details upfront, minimizing back-and-forth.
- Organizes inquiries – Helps categorize messages from clients, customers, or collaborators.
Without a contact form, you risk missed opportunities, and nobody can afford that!
Add a Contact Form With SureForms
There are dozens of very good form plugins out there, but nothing comes close to the ease of use and flexibility of SureForms!
Here’s why we think SureForms is the ultimate form builder for WordPress:
- AI form builder – Create forms in seconds using AI.
- Conversational forms – Create natural-feeling forms.
- Intuitive to use– Smart design combines power with usability.
- Fully customizable forms – Add fields or completely change the look.
What’s even better is most of these features are available in the free version.
As that’s where most of you would start, we’ll use the free version to show you just how easy it is to create with SureForms.
We’ll create one form using AI and one manually to give you a real flavor of how it works.
Add a Contact Form With AI
Let’s kick things off by using AI to create a form.
We’re going to use our Electrician Starter Template as it has a contact form front and center.

It’s also a type of website where forms play a pivotal role so it’s an excellent way to show how easy adding forms is.
If you’re an Astra user, SureForms was probably added automatically when you installed a Starter Template.
If you don’t use Astra, you can add SureForms in the usual way using Plugins > Add New.
Once set up, select SureForms from the left menu and select Dashboard.
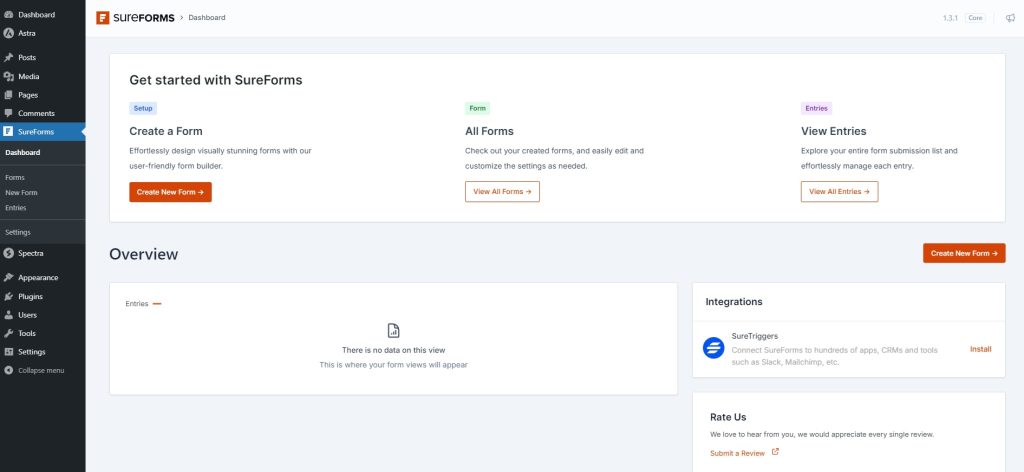
From here you can create a new form, view all your forms and check responses.
Select Create New Form when you’re ready.
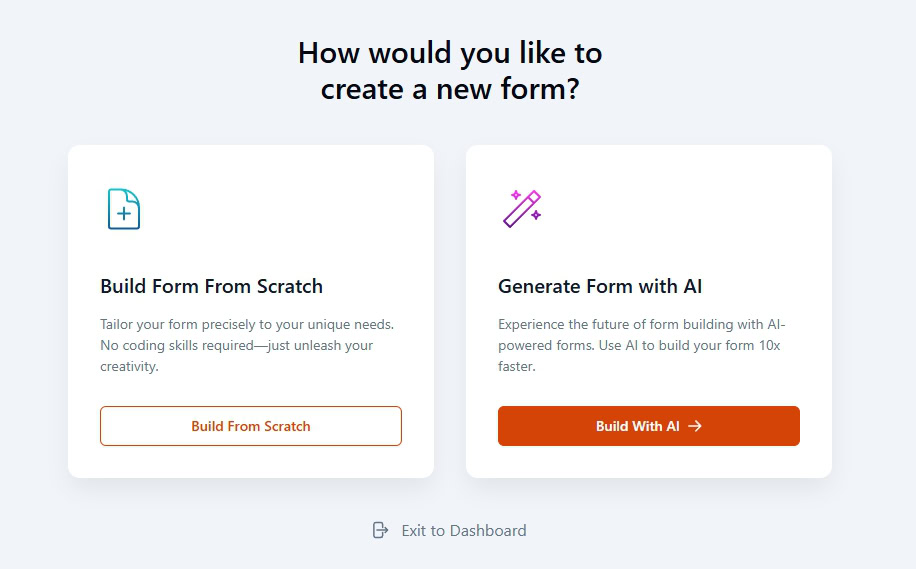
You have two ways to build a form, build from scratch or use AI.
Select Build With AI. We’ll show you how to build from scratch in a short while.
You should now see the describe your form page. Here’s where things get really clever.
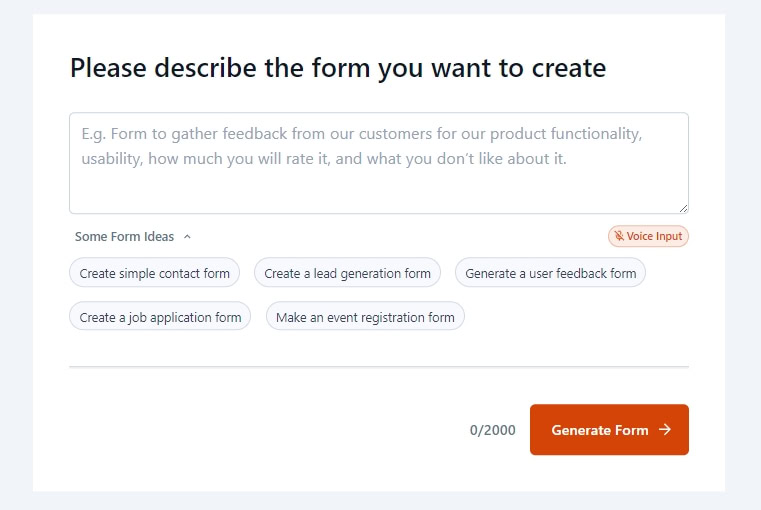
You can describe the type of form you want in the main text window, just like you would with any generative AI.
There are also AI prompts underneath if you want to create even faster.
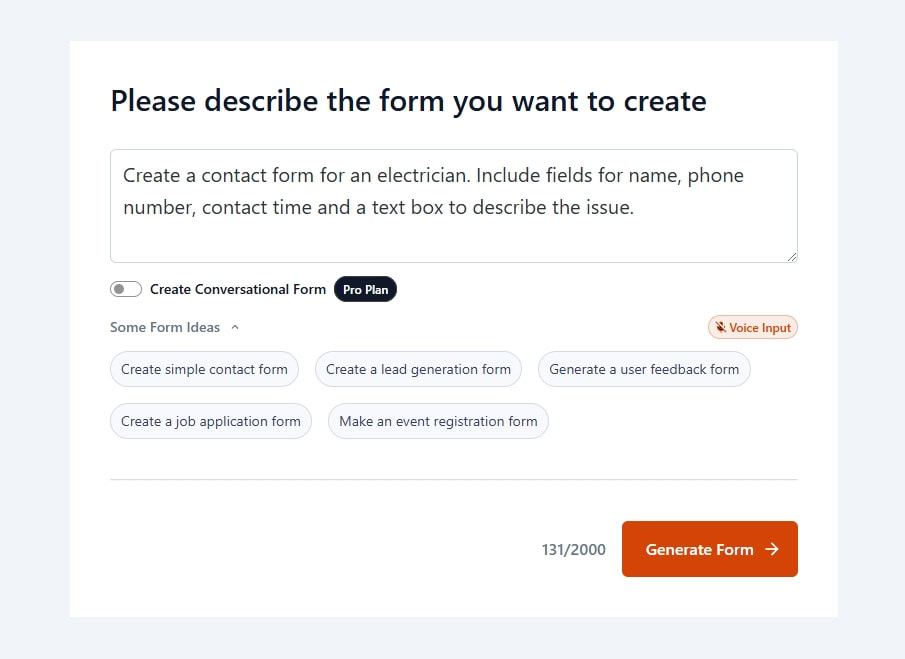
We typed: “Create a contact form for an electrician. Include fields for name, phone number, contact time and a text box to describe the issue.”
Hit Generate Form to begin building.
It should only take a few seconds to build your form.
Once complete, it will open up in an editor window that looks exactly like the WordPress page or post editor.
The form should deliver exactly what you requested in your prompt.
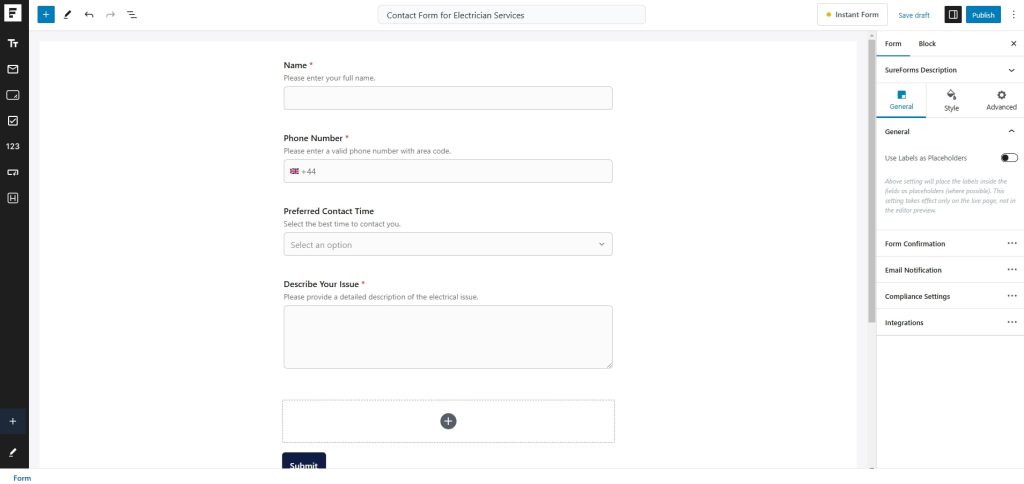
As you can see, our form includes fields for name, phone number, preferred contact time and a text box to describe the issue.
There are even box headers and instructions above each field to help the user.
While the form looks ready to go, you can add fields using the ‘+’ icon if you need to.
You can also change colors, typography and layout by selecting the field and using the menu on the right, just like you would a page or post.
The form behaviour option is well worth checking out while you’re there.
Select Form Confirmation on the right and a popup window will appear.
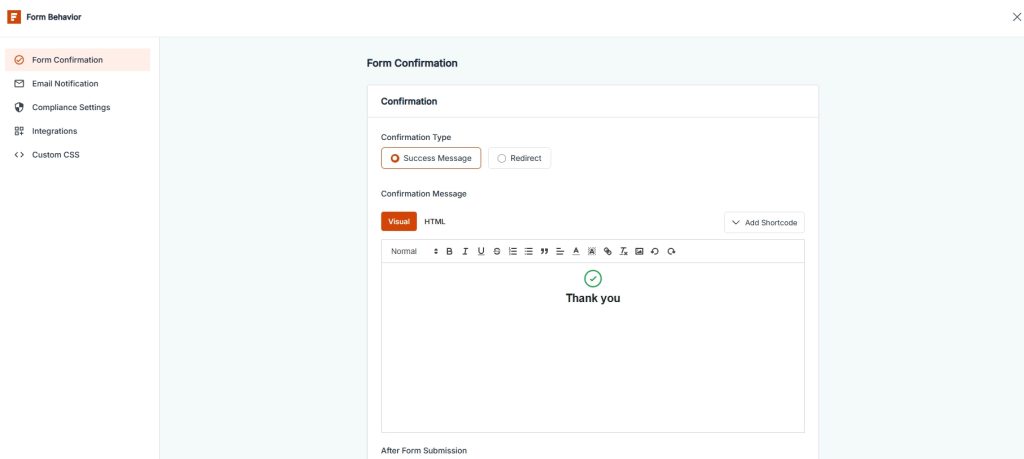
This is where you can configure confirmation messages, notifications, compliance and integrate SureForms with OttoKit or webhooks.
There’s also a custom CSS option if you need it.
Once you have configured your form, hit Publish at the top right.
Now open the page you want to add your form to in a new browser tab.
Add the SureForms block wherever you want your form to appear on the page.
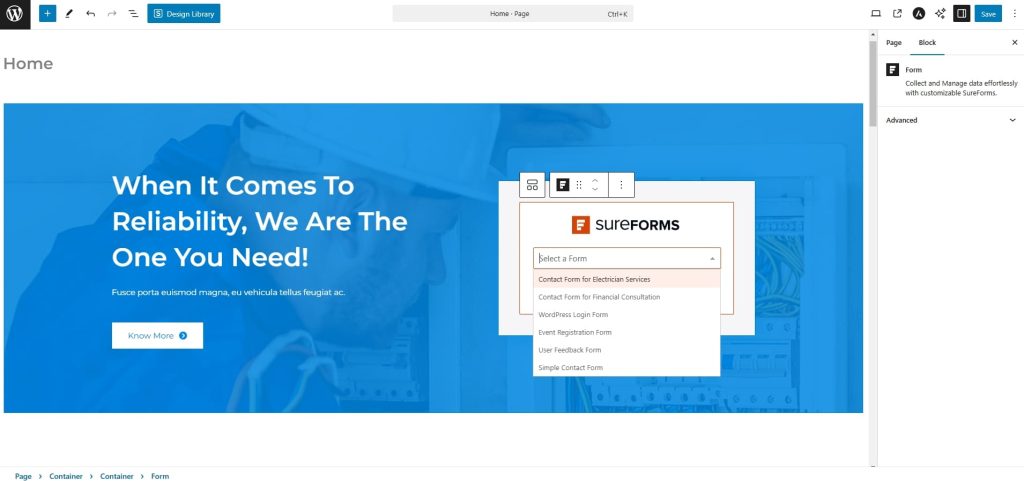
We deleted the original form and replaced it with the SureForms block as in the image above.
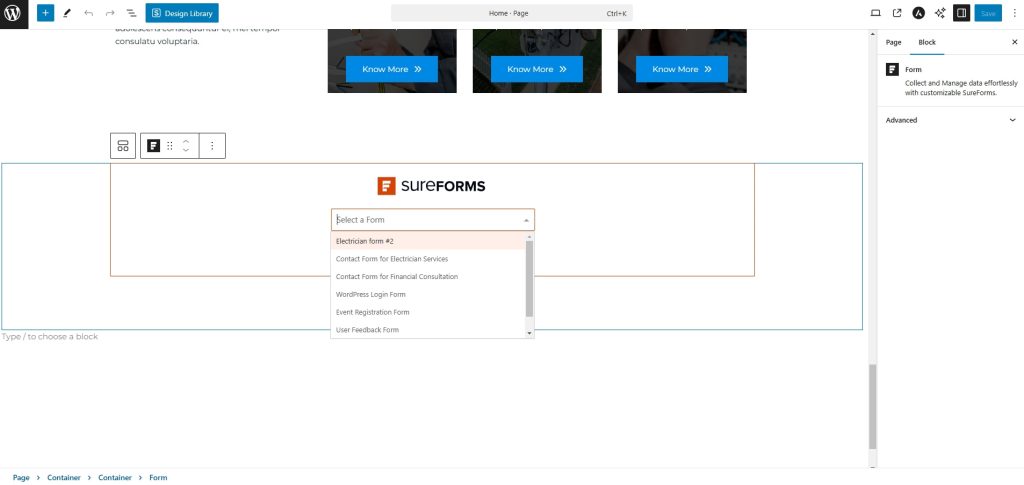
You’ll see a dropdown menu in the block where you can select the form you just created.
You can also create a new form from here if you need to.
Once selected, your new form will appear in the block.
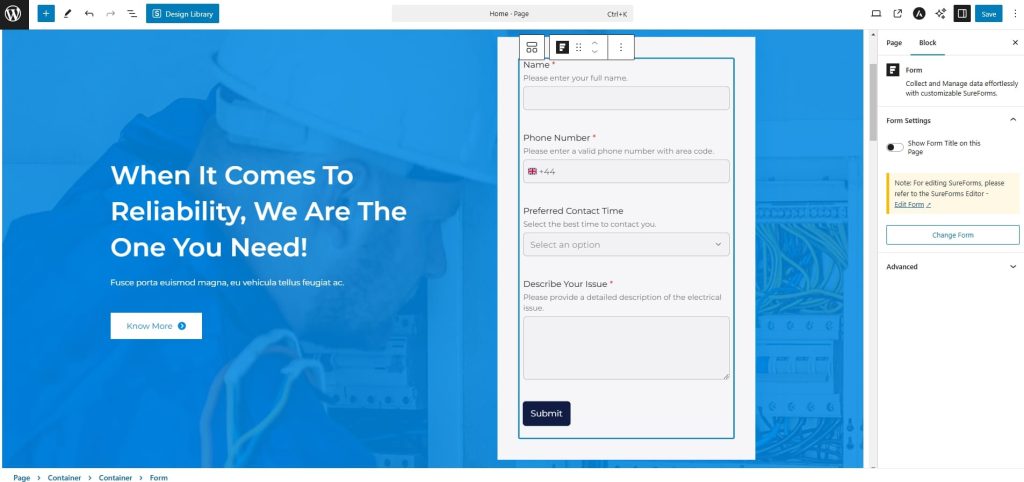
Save the page when you’re happy with how it all looks and your form is ready to begin collecting leads!
Check the dashboard frequently as it logs every form submission from every form you build.
How easy was that?
It took us less than 10 minutes to set up a new form, integrate it into a page and configure it.
That’s why we like SureForms so much!
If you like the idea of using AI to build forms, wait until you try building entire websites with it!
Manually Create a Form
So you have seen how fast it is to create a form using AI. Now let’s create one by hand.
Another reason we chose the Electrician Starter Template is because it has a second form on the homepage.
Scroll down to the bottom and you’ll see another contact form.
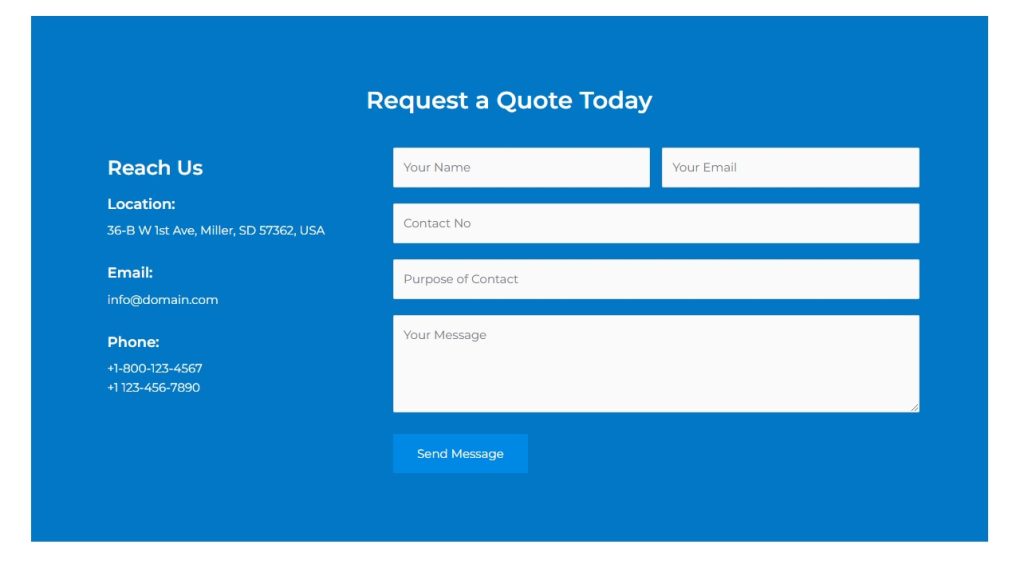
Let’s replace it with a new one.
This time, we deleted the existing form and added the SureForms block.
Select Save so we don’t lose the block and can refresh the form list once we’re ready.
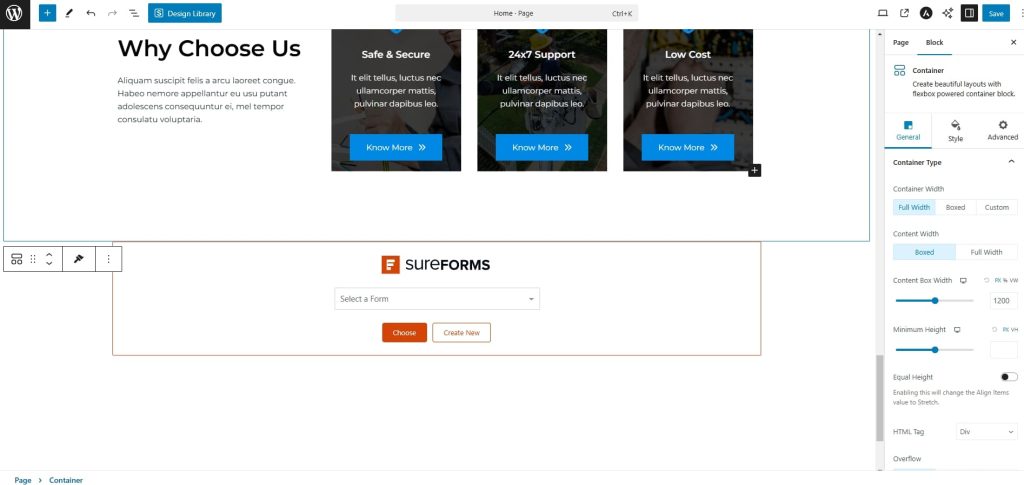
Instead of selecting a form like we did before, let’s select the Create New button.
It will open the same builder options screen as before. We chose Build Form From Scratch this time round.
You’ll be taken to the form builder screen. It looks the same as the editor screen but there won’t be any fields yet.
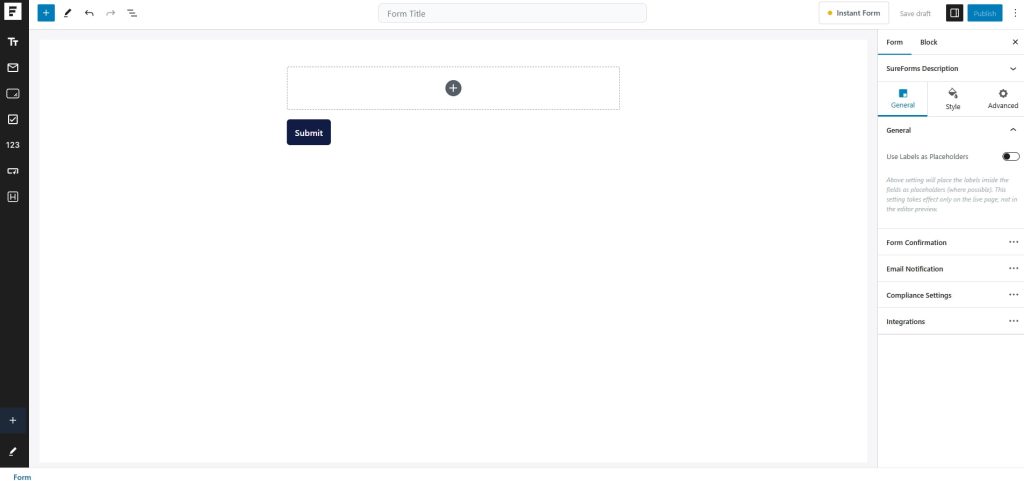
Give your form a title at the top and select the ‘+’ icon in the center.
Select a field from the popup menu. If you don’t see the field, use the search box at the top to find it.
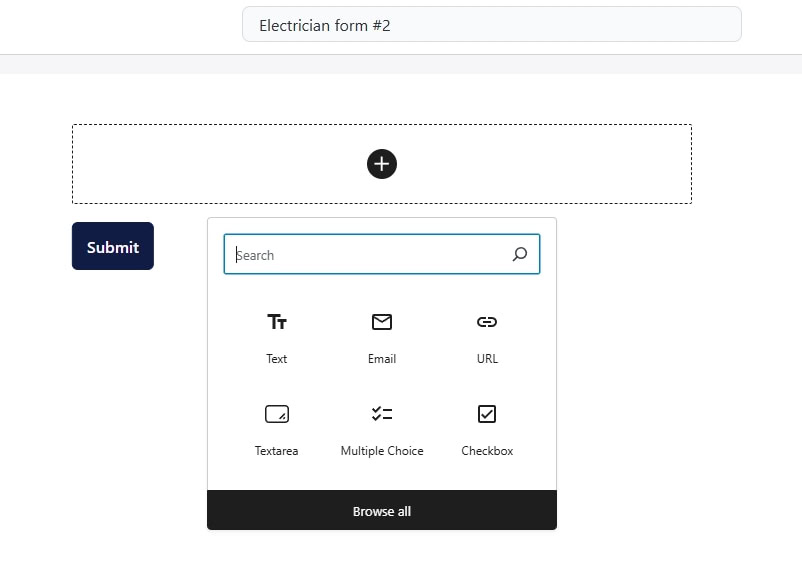
Once in place, you can customize it using the menu on the right.
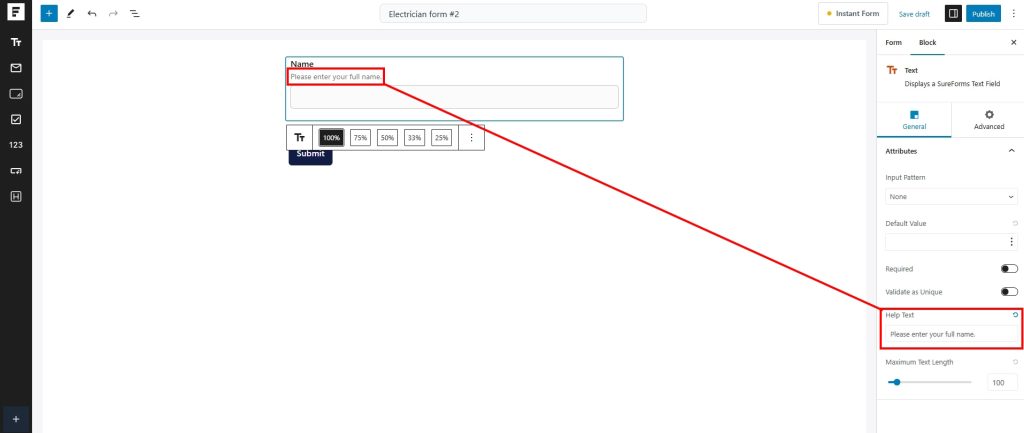
To add a name, select the Text field.
Double click where you see Text Field and replace it with the proper title.
Add extra guidance in the Help Text box on the right.
Rinse and repeat for all fields you want to add.
You can set whether fields are required or not using the Required toggle in the right menu.
Don’t forget you can play around with layout, styling and behaviour using the right menu.
Once you’re happy with your form, select Publish at the top right.
Go back to the page where you added the SureForms block and refresh the page.
Select the form from the dropdown to add it and select Choose.
Make any adjustments and hit the blue Save button when you’re ready.
Refresh the page where you added the form and it should be ready to go!
Adding a Contact Form to Your Website
If visitors don’t have a way to contact you, you could be missing out on untold opportunities.
Considering how easy it is to add a form, there’s no reason not to do it, especially when you can do it in minutes, for free!
Form plugins like WPForms are great at what they do, but nothing comes close to the convenience of using AI to build forms.
It’s quick, easy, painless and free, although there’s a premium version of SureForms if you want to do more with them.
Do you use SureForms? What type of forms have you created? Tell us your story below!

Pratik Chaskar holds the pivotal role of CTO at Brainstorm Force, serving as the backbone of the company. Renowned for his organizational skills, strategic thinking, problem-solving attitude, and expertise in leading and executing plans, Pratik plays a crucial role in the BSF’s technological landscape.
Disclosure: This blog may contain affiliate links. If you make a purchase through one of these links, we may receive a small commission. Read disclosure. Rest assured that we only recommend products that we have personally used and believe will add value to our readers. Thanks for your support!


Thanks for the detailed guide!
I have a exams related site and I want to collect user data (Email And Mobile Number). So, How to add 2 different contact forms to each post?
Waiting for your reply.
Hello Prabhat,
In order to add multiple contact forms, you will need to create multiple contact forms using the contact form plugin of your choice.
Like in this post, we’ve created one contact form using WPForms. You too can create more in it and then embed the shortcode of each form in the location you wish to show it on.
In case you need any further help, I’d suggest you to please open a ticket at our support center.
Hello,
How come you don’t recommend your own plugin — ConvertPro for contact forms?
Hi Alfred,
Convert Pro is a lead generation plugin while WPForms is a contact form plugin. Convert Pro helps increasing subscribers & conversions. You can get all the required options to get more subscribers with Convert Pro. Since both the plugins serve the different purpose it is not mentioned in this article. 🙂
Astra theme website is overlapping header with the logo when opened in mobile mode.
Hello Lalit,
Could you please open a ticket at our support center, so that we can take a closer look and help?
Hi there
When I click send, I dont receive the email even If the admin email is correct.
Is there anything we can check?
Hello Mert,
Please confirm if you have the SMTP setup correctly. 🙂
I’m having the same issue. How do I ensure the SMTP is set up correctly?
You use tools like “SMTP Test Tool” available online to ensure everything is working as expected.
Hi, I’m having issue with fonts. I have styled the form with css and it’s working correctly on my laptop (Macbook), but not on my phone (iPhone 13) nor Windows devices so I guess it’s not working correctly on any other devices. It is supposed to be Roc Grotesk font, but on those devices it’s Times New Roman. Can you help me with this?
Very instructive article. I was able to use the article and create the form I desired using WPForms Lite.
You have mentioned good points in your article. I would like to add some short steps for the addition of contact forms on the wordpress website. Hope, your users would like it.
1.Install the Contact Form 7 plugin
2.Create a new contact form
3.Customize the contact form
4.Generate the form shortcode
5.Add the contact form to a page or post
6.Test the contact form
For a non technical person, it can be difficult to use wordpress. I personally know One IT company like Alakmalak technologies, they will provide you best services for your wordpress website.
Hey, so is there a way to use your theme form from Design library? The WPforms wants me to pay even for changing backfground color, which made me pissed, since it doesnt fit my website and the black text on dark grey background is unreadable… So is there a chance for me to use your library preset? I tried filling the form and no email or notification came… Thanks!
That’s strange! Can you give our free version of SureForms plugin a try that might help – https://wordpress.org/plugins/sureforms/.