How many times have you heard of a 301 redirect? By the time you’re reading this post you may already have an idea what it is and why it’s important.
The purpose of this post is to consolidate everything you need to know about 301 redirects into one easy to follow guide and help you manage 301 redirects on your WordPress sites.
Ready to see how much of what you know is accurate? And maybe learn a little bit more? Read on.
What Is a 301 Redirect?
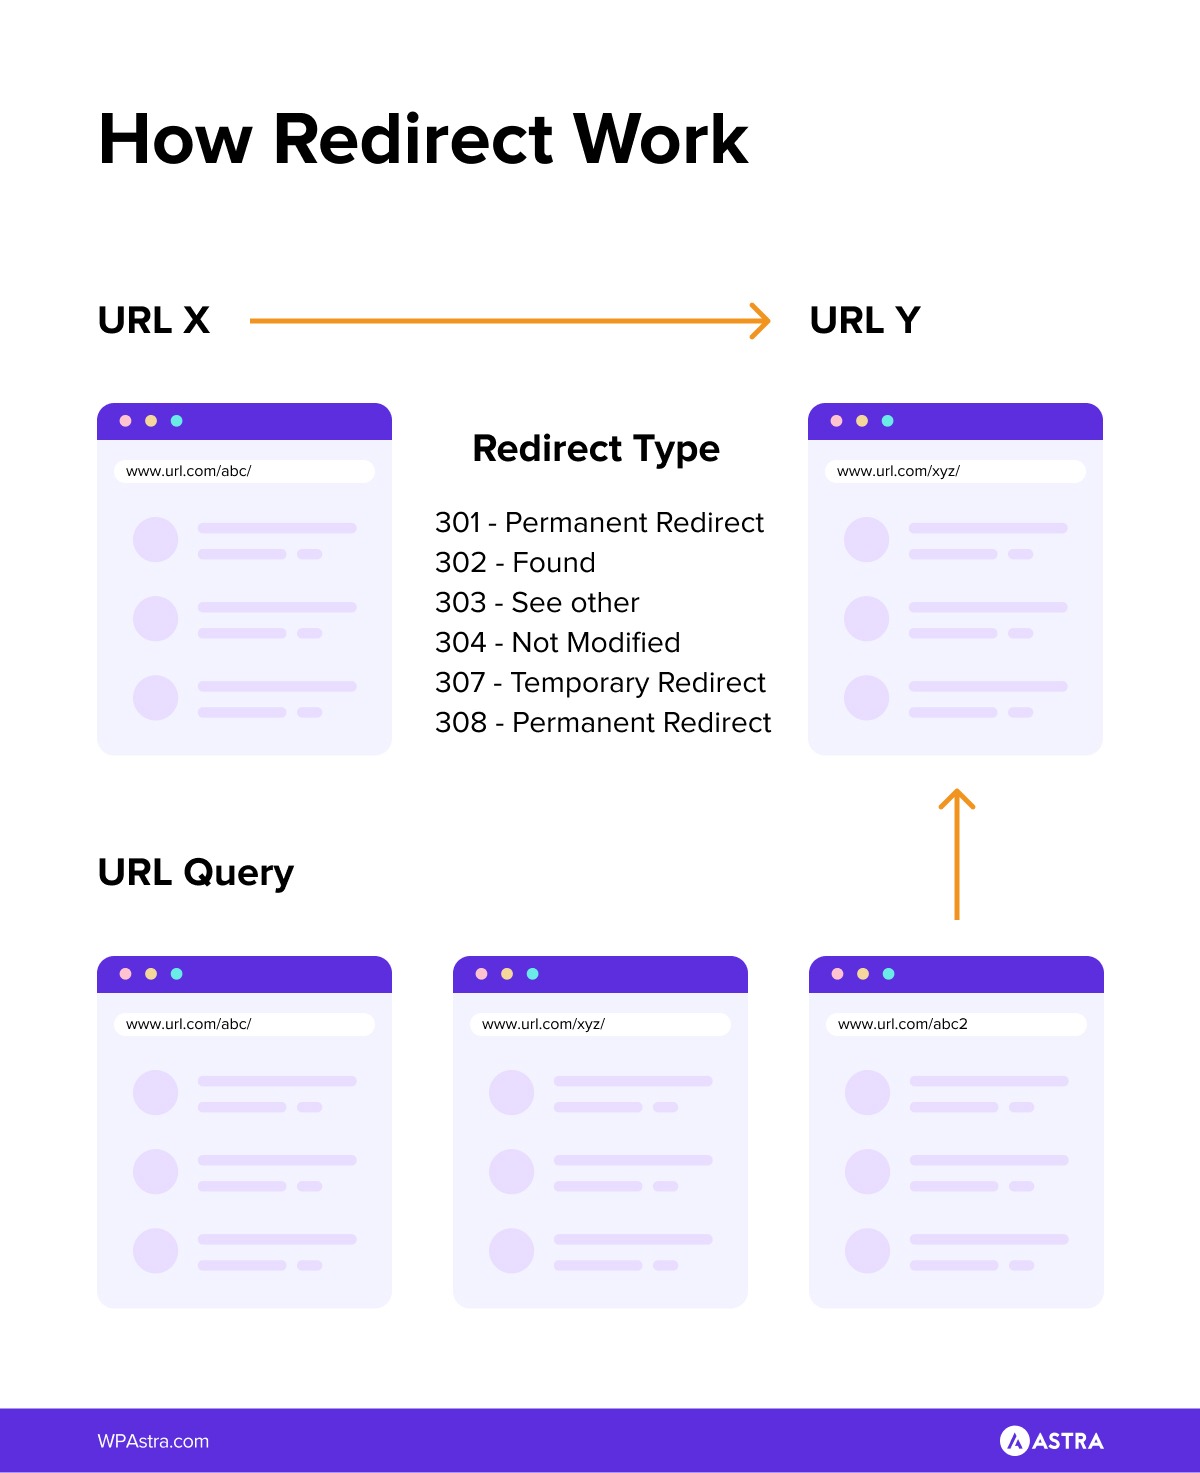
A 301 redirect is a permanent redirect from one URL to another. It is a way to quickly let browsers know that the requested page or post has moved or been replaced.
What would happen in the absence of a redirect is something known as a 404 (Page Not Found) error. These can hurt your website’s ranking and reputation, and for SERPs sake, you’d want to avoid them.
You’d want to make redirection your new best friend.
And yes, the reason they are not simply called “redirects” is because there’s more than one kind.
Some other common redirects include:
- 302 Found
- 303 See Other
- 304 Not Modified
- 307 Temporary Redirect
- 308 Permanent Redirect
If there are other types of redirects, then why have you mostly only heard of 301 redirects?
Easy, they are the best way to ensure users and search engines are directed to the correct page. If you need to change the URL of a page as it is shown in search engine results, Google recommends that you use a 301 redirect.
If you prefer a video version of this guide, we already got that covered for you.
Why Use a 301 Redirect?
Why would you change your URLs in the first place? Let’s look at three common use cases for 301 redirects.
Deleting/Replacing Content
You may have a post that no longer makes sense to your audience for whatever reason. You wouldn’t want to confuse, mislead or even bore them.
In case you’re thinking of writing a more relevant and up-to-date post, you can delete the old one and use a 301 redirect to send people and search engines requesting the old post to the new URL. You could even delete the old post and redirect the traffic to your homepage instead.
Moving to HTTPS
If you’ve been using a non-secure connection (HTTP) and decide to move to a more secure connection (HTTPS) by installing a security certificate, you’ll want users to use the more secure (HTTPS) version of your site. For this, you should have a 301 redirect in place.
Moving to a New Domain
If you moved your website to an entirely new domain, you wouldn’t want to lose your existing site visitors. You need to redirect them to the new domain hosting your old site. Not a problem, you should use 301 redirects for this too.
301 redirects help you keep your hard work after changing URLs. This means you don’t have to start from scratch.
In addition to hearing about 301 redirects, you may also have heard of its lesser known cousin— 302 redirects.
What is the difference between a 301 and 302 redirect?
A 301 redirect means the content has been permanently moved while a 302 redirect just means it’s temporary. This helps search engines decide whether to replace or keep the old URL in their search database.
For example, if you want to make significant changes to a live site, you could use a 302 redirect to temporarily send your visitors to a different page, while you work. Search engines would know not to discard the URL of the page that’s under construction.
Pro Tip: It’s usually a bad idea to make changes to a live site, use a staging site instead.
How Do I Implement a 301 Redirect?
A 301 redirect can be implemented using a plugin or code added to one of your website files. Since this here’s a complete guide, we show you both ways. Starting with using a plugin.
For this guide, we’ve used the Redirection plugin (yes, that’s its name).
Step 1: Install and Activate Redirection Plugin
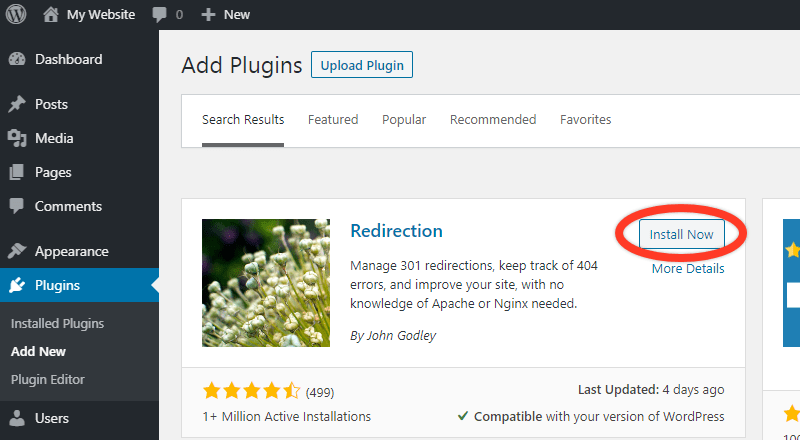
In your WordPress dashboard, go to Plugins > Add New. Type in “Redirection” in the search bar. Once the results come up, click Install Now and then Activate.
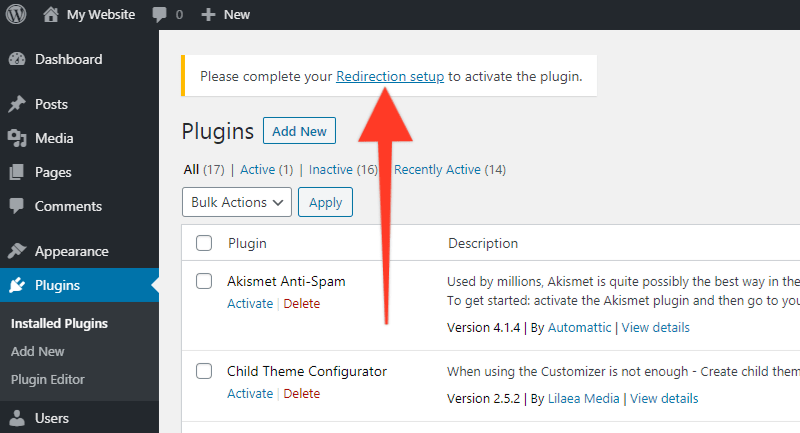
After activating Redirection, there will be a message at the top of your screen asking you to complete your Redirection setup. Simply click the link and it’ll take you to the plugin settings.
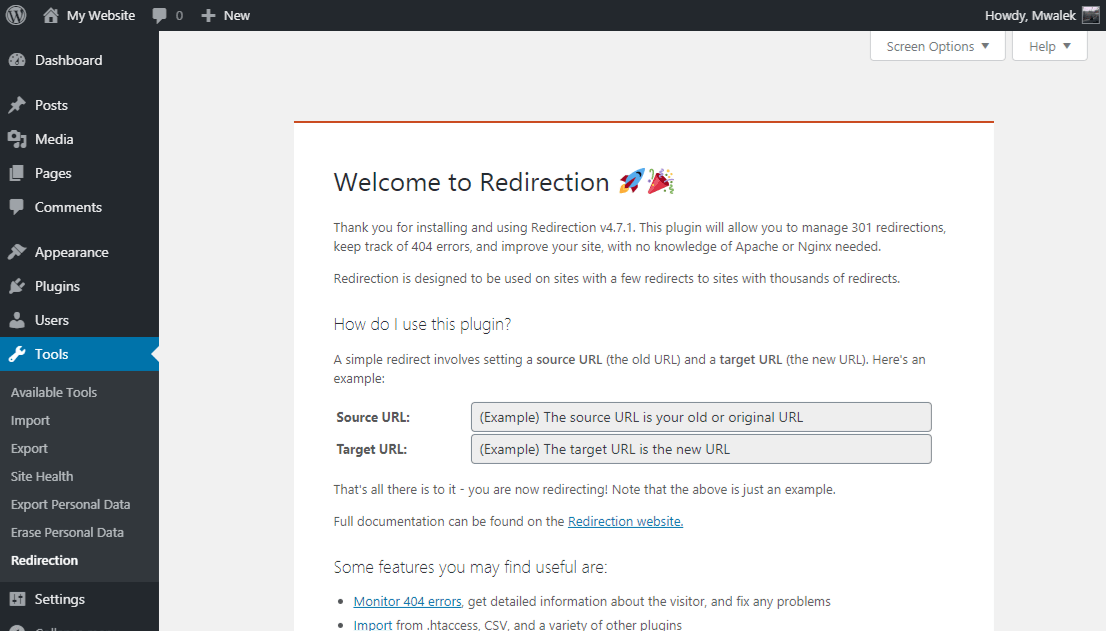
Step 2: Starting the Setup
At this point, you should be looking at the welcome screen with notes on how to use the plugin and what to do next.
At the bottom, you’ll find the button Start Setup. Click this button to proceed with the setup.
Step 3: Configure Basic Setup
The basic setup options are:
- Monitor permalink changes on your WordPress site’s posts and pages
- Keep a log of all redirects and 404 errors
What does enabling each do?
Monitor Permalink Changes
Monitoring permalink changes mean that if you change the permalink in a post or page then the Redirection plugin can automatically create a redirect for you.
Keep a Log
This is one way to know what’s happening on your site. When a redirected URL is visited it will be logged or recorded.
The logs will contain the following information about a visitor:
- URL visited
- Target URL the visitor is redirected to
- Time of visit
- Visitor’s browser agent
- Referrer (not always available)
- IP address
We recommend enabling both options. However, keep in mind that choosing to keep a log of redirects will increase your database storage requirements.
Choosing to keep a log will open up a third option, Store IP information for redirects and 404 errors.
NOTE: Make sure that if you enable this option you will/have taken the necessary steps to comply with all data collection laws that apply to you.
Step 4: Finish Setup
Looks like you made it to the end (almost), nicely done! Here, the Redirection plugin will check that it’s able to communicate with WordPress. If it can, you will see the “REST API” status go from 0 to Good.
Once that’s done, click the Finish Setup button and you’ll be good to go!
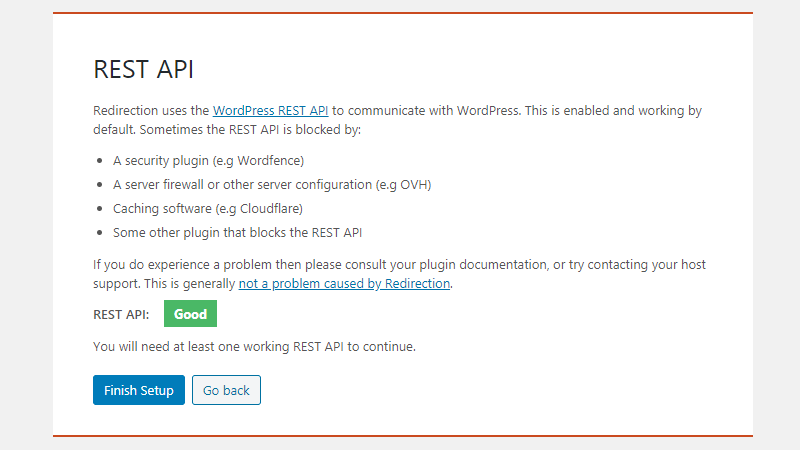
Pro Tip: If this doesn’t happen for you, Redirection recommends consulting the documentation of your other plugins to resolve the conflict, or contact your host support.
On the next page the setup will be finalized and you should click the Finished button afterwards.
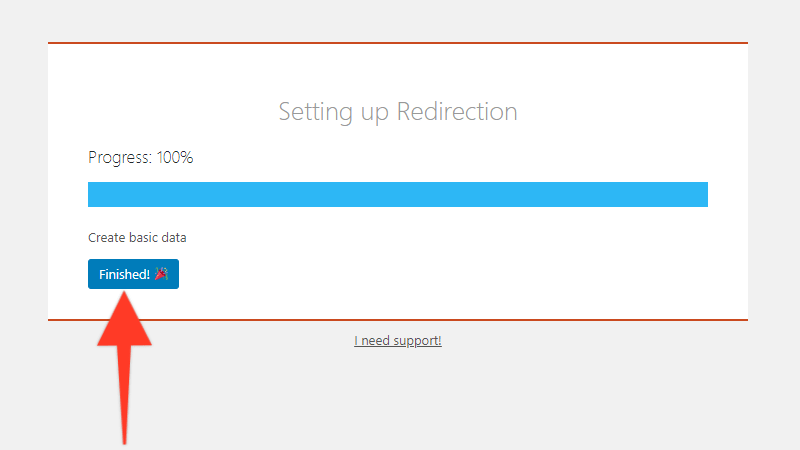
That’s it, you’re good to go!
Step 5 (Bonus Step): Create a Redirect
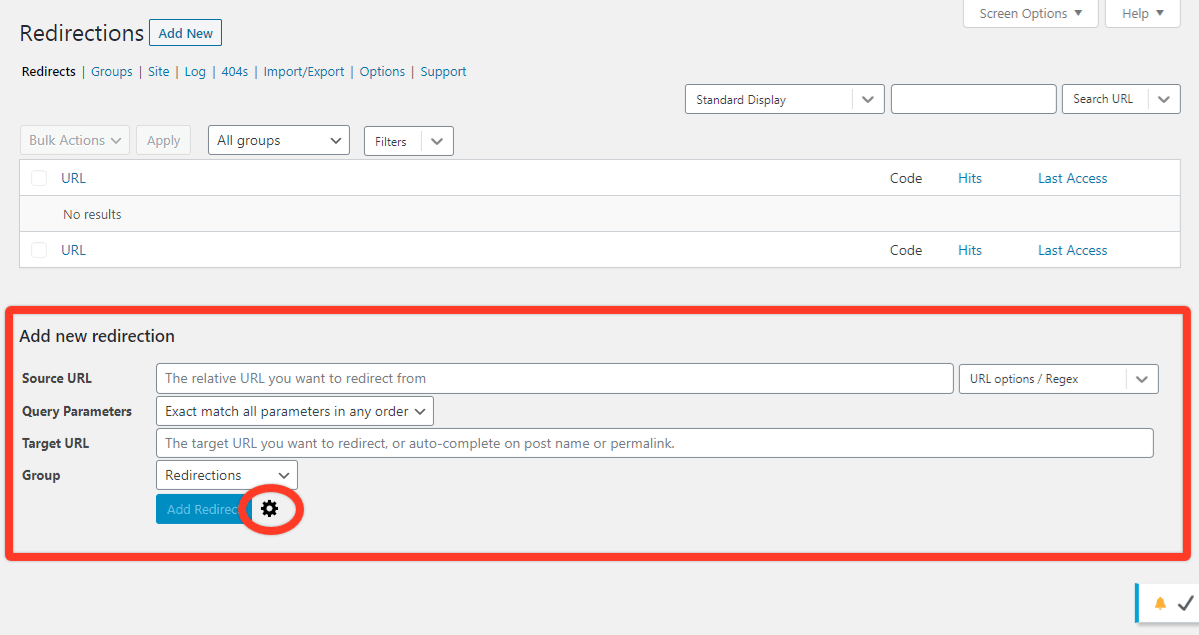
After the setup is finished you’ll be taken to the redirection settings page where you can create your first redirect.
For reference, the settings are under Tools for Redirection (Tools > Redirection).
You can customize each redirect and even organize them according to categories. Use the cog icon (circled in the image below) to choose a redirect type whenever you don’t want to use a 301 redirect (the default).
Implementing a 301 Redirect Using the .htaccess File
What if you only need to redirect a few URLs or you want to redirect an entire website to a new domain?
Using your .htaccess file is a good option for both these cases.
.htaccess is a configuration file used to change how a web server handles various requests.
Your .htaccess file is located in the root folder or central directory of your WordPress website. If you can’t see it there, that’s probably because it’s hidden (thanks to the dot at the beginning of the file’s name).
Turn on the option to “show hidden files” in your FTP Client or File Manager and you should now see the .htaccess file.
Pro Tip: Make sure to backup the .htaccess file before making any changes to it.
In case there’s any doubt, .htaccess is written in Apache language and so we’ll be using code to make changes to the file.
Redirecting Single Posts/Pages
Redirect 301 /some-old-URL https://yoursite.com/some-new-URL
Paste the above code in your .htaccess file and replace the URLs with your own. Notice that for the old URL we only used the slug (some-old-URL), while for the new one we used the entire URL (https://yoursite.com/some-new-URL).
Pro Tip: Be sure to check that the new URL has the correct protocol (http/https).
Redirecting an Entire Website
<IfModule mod_rewrite.c>
  RewriteEngine On
  RewriteCond %{HTTP_HOST} ^olddomain\.com$ [OR]
  RewriteCond %{HTTP_HOST} ^www\.olddomain\.com$
  RewriteRule (.*)$ http://www.newdomain.com/$1 [R=301,L]
</IfModule>
Paste the above code in your .htaccess file and replace the olddomain and newdomain values with your actual domains.
Pro Tip: Be sure to also check that the new values bear the correct domain extensions i.e. .com, .org, .net, etc.
Top 5 Plugins for WordPress 301 Redirects
I know we’ve already talked about using a plugin to manage 301 redirects. But we only used the Redirection plugin. But did you know there are more?
Which is the best plugin for 301 redirects? Let’s have a look at six free and premium plugins for 301 redirects in WordPress.
1. Yoast Premium
Yoast Premium comes with a redirect manager that helps users create redirects in a flash. The redirect manager helps keep sites healthy and up to date and even allows users to export and import all their redirects to a CSV file.
Features:
- Easily redirect pages from within your WordPress install
- Automatically get a request to redirect the URL when you delete a page
- Integrated with the Google Search Console
In addition to 301 (Moved Permanently redirects), the redirects module has the following redirect types:
- 302 – Found
- 307 – Temporary redirect
- 410 – Content deleted
- 451 – Content unavailable for legal reason
Price: $89 per year.
2. Redirection
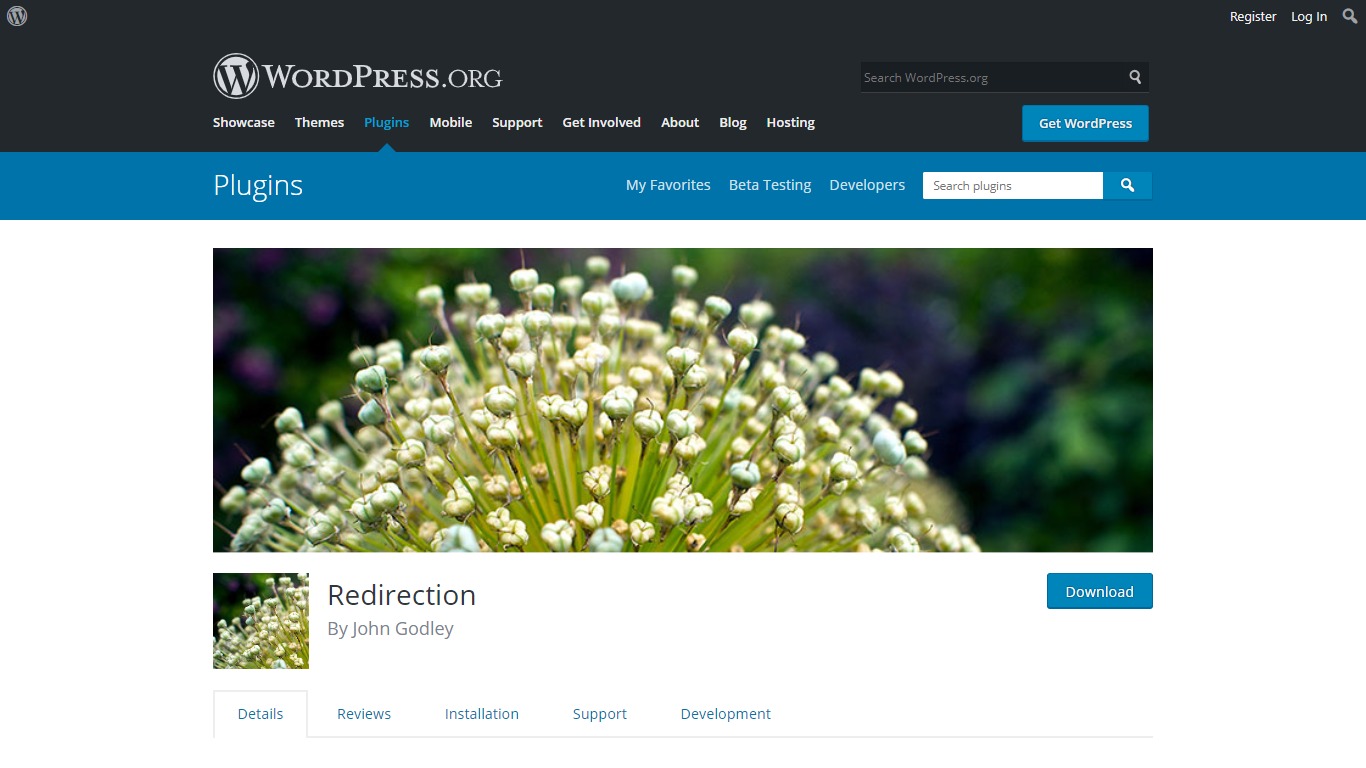
Redirection is one of the most popular redirect managers for WordPress. One beautiful thing about this plugin is that it’s designed to be used on sites of all sizes, from those with just a couple of redirects to those with thousands.
Features:
- Easy and Simple Management — No server knowledge required!
- Conditionally Redirect
- Full Logging
- Track 404 Errors
- Apache & Nginx support
- Import & Export
Price: Free
3. 301 Redirects – Easy Redirect Manager
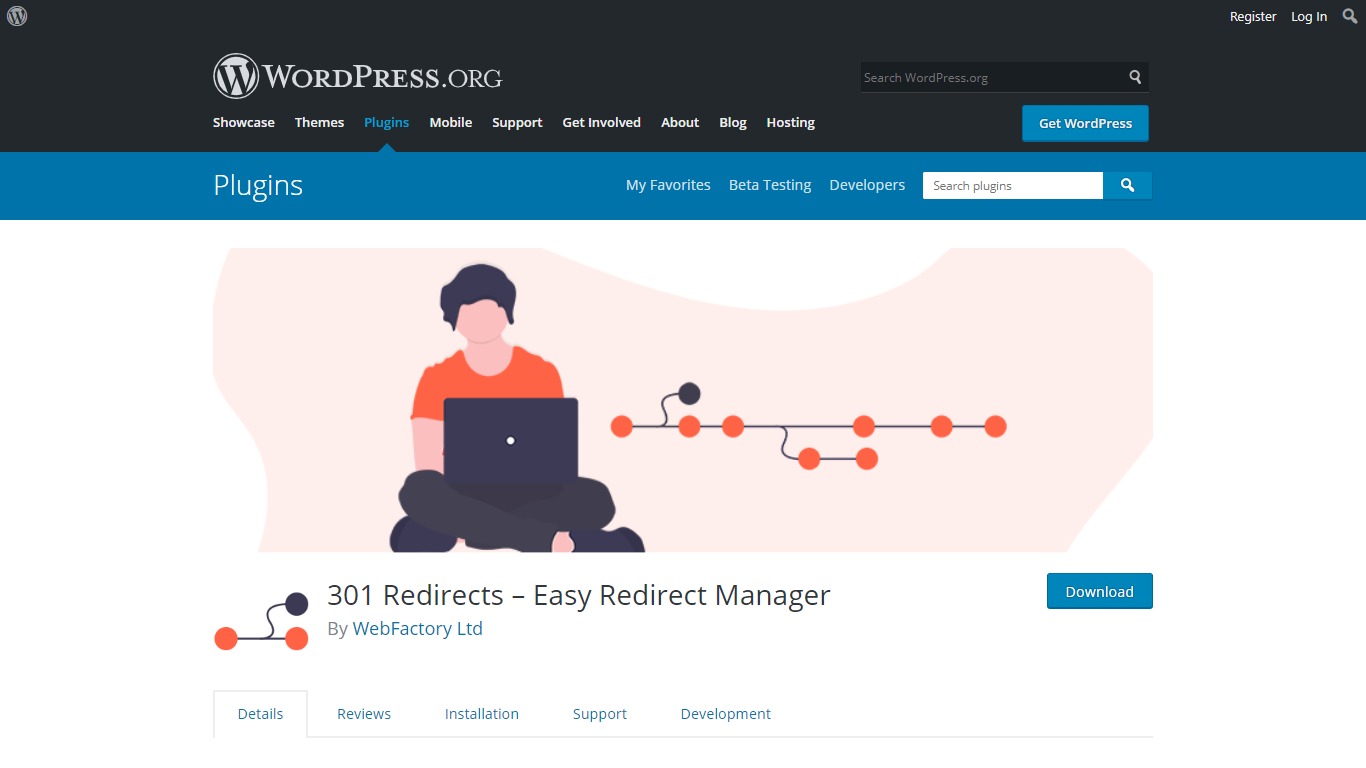
301 Redirects – Easy Redirect Manager is a good option for new websites as well as those that need links repaired after reorganizing existing WordPress content. Primarily 301 Redirects helps you manage and create 301 & 302 redirects.
Features:
- Choose from Pages, Posts, Custom Post types, Archives, and Term Archives
- Retain query strings across redirects
- Import/Export feature for bulk redirects management
- Simple redirect stats so you know how much a redirection is used
Price: Free
4. SEO Redirection Plugin – 301 Redirect Manager

What if you’re making major changes? SEO Redirection Plugin is a useful and powerful way to migrate pages from an old website or change the directory of your WordPress website.
Features:
- Manually add 301, 302, and 307 redirects
- Supports wild card redirection
- Fix crawl errors (404 & soft 404) in Google Search Console
- WPML support
- Import/Export
- Redirection statistics
- Customize data collection (GDPR compliance)
Price: Free
5. 301 Redirects
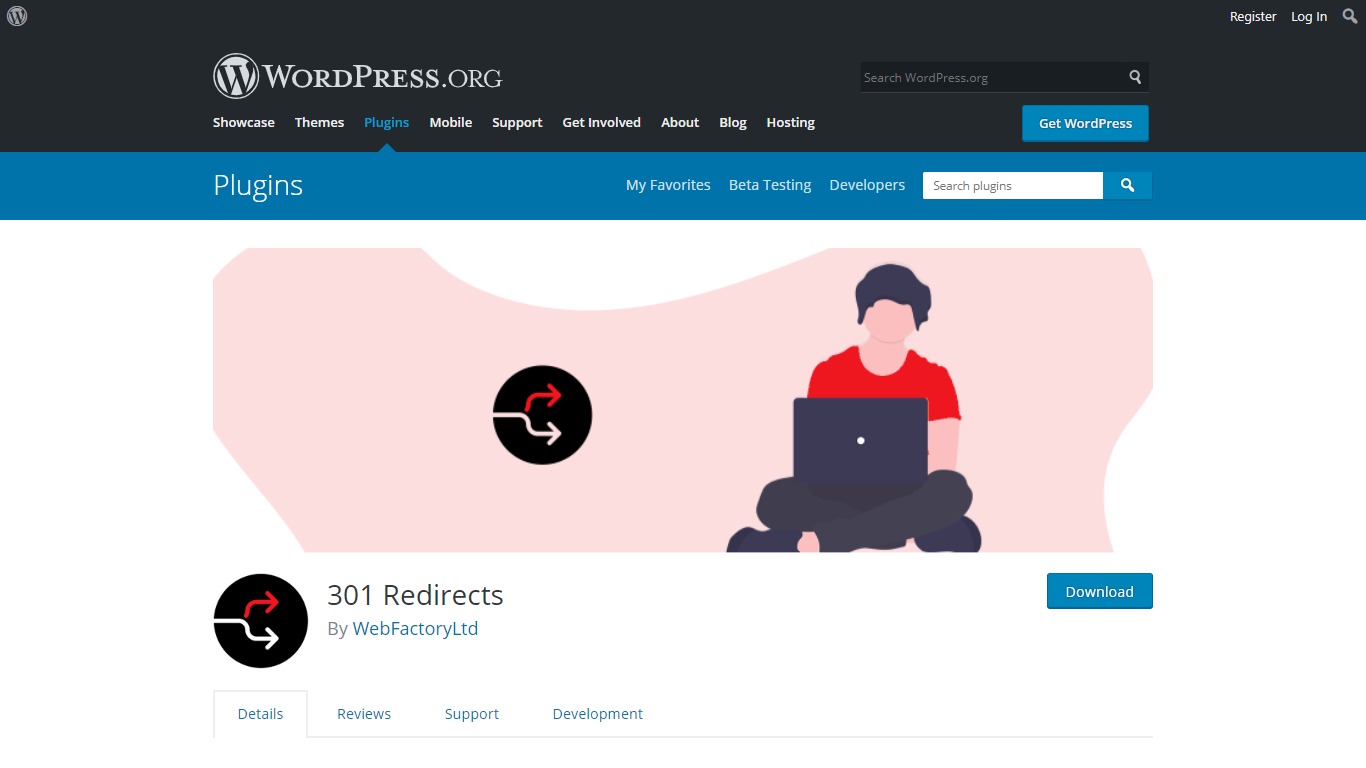
Another plugin that’s ideal for big changes is 301 Redirects.
In the words of its developers, “A perfect plugin for creating a new site from an old site or changing the domain name and managing all of the redirects and broken URLs.”
Features:
- Easily add and manage redirect rules
- Easily manage and redirect broken URLs
Price: Free
Summary
301 redirects let browsers know that the requested page or post has moved permanently or been replaced, sending visitors to the new or relocated content.
This article covered what the different types of redirects are, how and when to use them. We tackled the ‘code approach’ but also listed out some of the top free and premium redirect plugins to help you manage your redirects in WordPress.
Hopefully the post answered most of your questions on how to create a 301 redirect in WordPress and helped you decide the best plugin for the job.
As you put everything discussed here into practice, keep in mind that any kind of redirect is only useful when implemented correctly. So always monitor your site for 404 errors and feel free to return to this handy guide whenever you need.
Part of providing a good experience for users is optimizing web performance. But how much of what we know about the subject is actually true?
Find out by checking out this article on WordPress Performance Myths to avoid (for real-world application).

Pratik Chaskar holds the pivotal role of CTO at Brainstorm Force, serving as the backbone of the company. Renowned for his organizational skills, strategic thinking, problem-solving attitude, and expertise in leading and executing plans, Pratik plays a crucial role in the BSF’s technological landscape.
Disclosure: This blog may contain affiliate links. If you make a purchase through one of these links, we may receive a small commission. Read disclosure. Rest assured that we only recommend products that we have personally used and believe will add value to our readers. Thanks for your support!


